 Ignacio Macri

The cup looks convincing until you try to change it. You select the ground instead of the handle, move the camera by accident, then adjust the material and the light together. The next render is better, but you cannot explain why.
That is a useful point to begin Blender Fundamentals 4.5 LTS. The immediate problem is learning to make a deliberate change and recognise its effect. Blender Studio’s OVERGROWN video shows why that ability matters when a small scene eventually becomes part of a much larger project.
What the production discussion reveals
In OVERGROWN Project: What will you get?, Francesco Siddi describes bringing artists and developers together around a film. The proposed production becomes a way to find and test improvements to Blender, including collaboration at feature-film scale.
One specific challenge is allowing specialists in modelling, rigging and shading to work on the same asset. He discusses task ownership, performance and usability, alongside animation, overrides, editing, lighting and ways to understand complex scenes. The intended results include reusable software tools and production knowledge, with documentation and training available through Blender Studio. These are project aims; the video does not establish that every improvement has shipped.
This short summary was checked against the complete English captions. Our learning route below is independent editorial guidance.
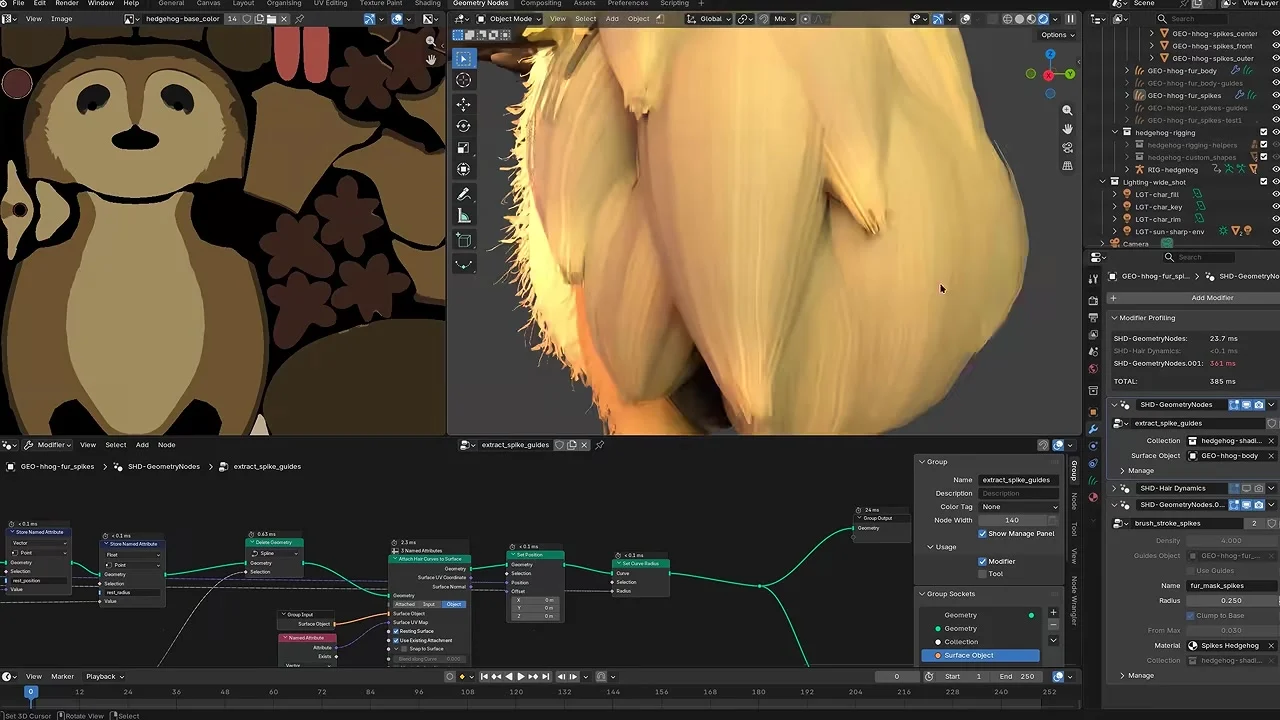
The useful connection for a beginner is knowing which task you are doing. A studio separates responsibilities between people; in a first scene, you separate them in time. Shape first, then surface, then lighting. Each stage leaves something understandable for the next.
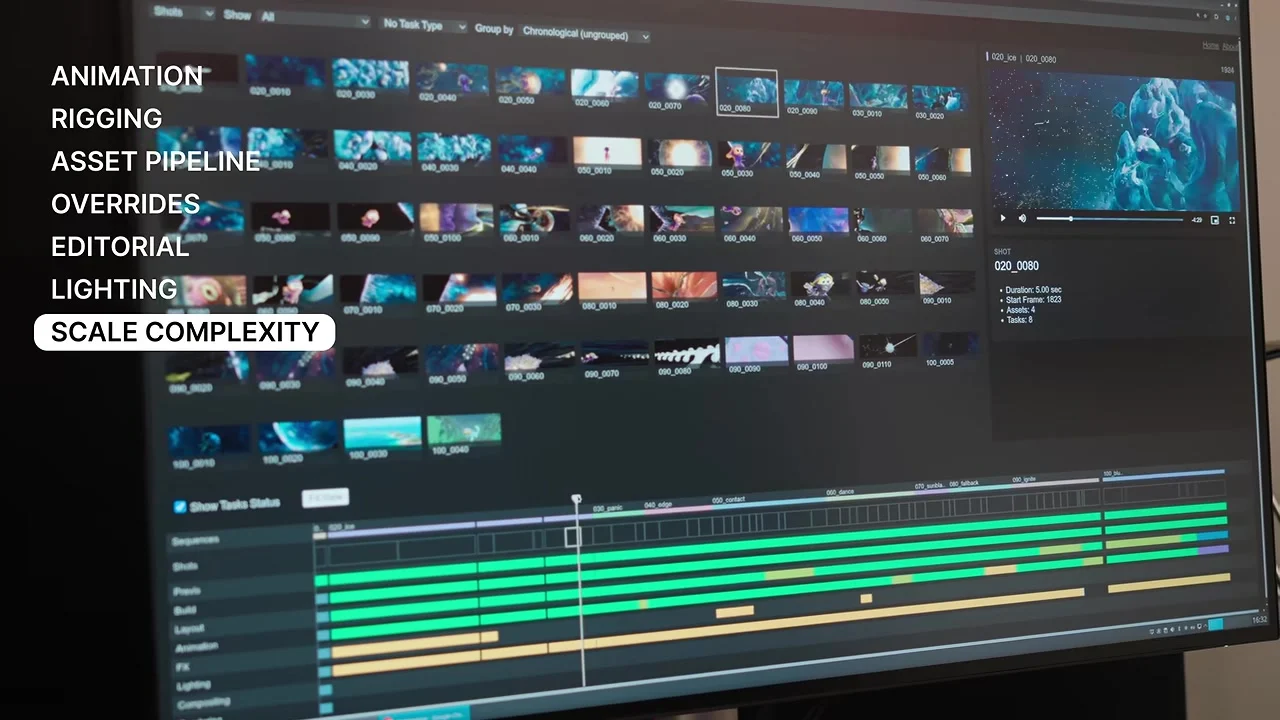
A course for the gap between watching and doing
Blender Fundamentals 4.5 LTS is a self-paced introduction on Blender Studio. It makes sense for someone opening Blender for the first time, or returning after scattered tutorials left gaps in the basics. If you can follow a demonstration but struggle when your own scene differs, a structured sequence gives you somewhere specific to return.
The official contents move through first steps, modelling, shading and lighting, with further topics including sculpting, rigging and project workflow. The lessons discussed here are labelled Free. The provider also states that the course is still under construction: some chapters are missing and existing material is being revised. Check the current contents before planning your route; do not assume every listed topic is a finished sequence.
You will need time with Blender open beside the lessons. Watching alone can make a control look familiar without making it usable. For a manageable start, choose one ordinary object and keep it through several stages. Our example is a cup on a ground plane; it is our practice suggestion, not an official course assignment.
First, make the scene predictable
Begin with First Steps. Viewport Navigation helps you inspect the scene; Selecting & Transform introduces choosing objects and moving, rotating and scaling them. Saving and Collections give you places to learn how to preserve and organise the work.
Apply those operations before pursuing a polished picture. Select the cup, move it, undo the move and select it again. Find the camera without altering its position. Save the file, close it and reopen it. The test is whether you can repeat a small action without losing track of the scene.
If that feels slow, keep the object simple. A plain cup gives you enough to practise without requiring a character, a landscape and a complex material at once. You can add ambition when the controls stop taking all your attention.
Give each new tool a visible job
Once selection and movement are reliable, inspect the outline. Does the handle remain separate from the body in your chosen view? Our silhouette study helps frame that decision. In the course’s Modeling chapter, Mesh Selection, Extruding and Bevel Tool are useful places to investigate the operation that your shape needs.
Choose one change: widen the handle opening or soften an edge. Compare the same view before and after. Adding detail everywhere makes it difficult to tell whether the main form improved.
Next, use Materials & Shader Editor in the Shading chapter to explore the surface. Keep the camera and geometry fixed. Give the cup a simple material, then compare a single adjustment. The question is whether the surface helps explain the form you already built.
Lighting & Rendering provides the next set of controls, including Light Types, Camera Settings and Render Output. Keep one light while testing direction, then framing. Our one-light study offers a comparison to try. Save the image alongside the scene so the result remains attached to the decisions that produced it.
Let the first scene suggest a direction
Finishing this small study gives you something concrete to evaluate. If shaping the handle held your attention, try another everyday object. If arranging light was more absorbing, make several images of the same model. If you are curious about movement, explore introductory rigging material when you are ready for a new set of problems.
These are possible directions to investigate, not a promised career path or a measure of mastery. Product imagery, environments and animated characters each demand further practice and specialist knowledge. A foundational course is useful partly because it helps you discover which part of making an image you want to pursue.
For now, keep the goal observable: one scene you can reopen, explain and improve. The free introductory lessons are separate from Blender Studio’s subscription. Start with the operation that currently blocks your cup scene, use it once, and keep the result for your next decision.
Sources and scope
Blender Studio’s original video and English captions; official course contents and construction notice; Selecting & Transform; Camera Settings. Checked 27 October 2026. Ignacio Macri is independent. Suggested exercises and the interpretation are ours. The two credited stills are frames from the source video.