 Ignacio Macri
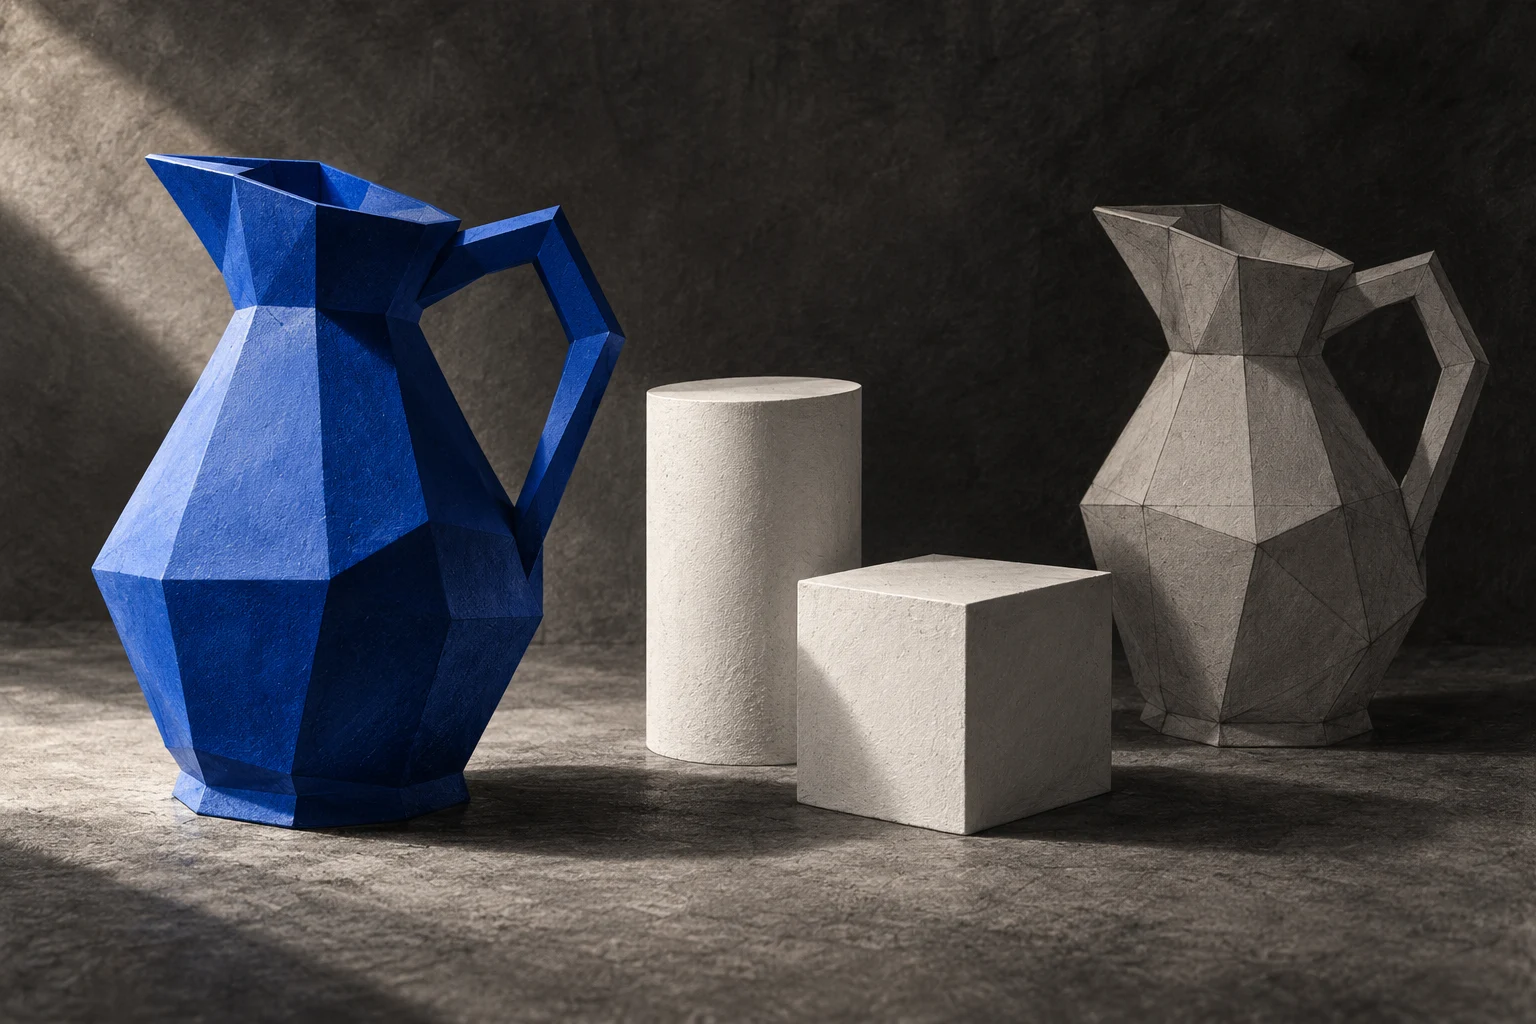
A handle can be beautifully smooth and still belong to a pitcher nobody can recognise. That is the trap in a first modelling project: every detail gives you something to do, while the overall shape quietly goes wrong.
This exercise keeps the judgement simple. Build a small object from basic forms, then inspect it as a silhouette. It is our own practice prompt, designed to accompany the modelling foundations in the official Blender course.
Choose a useful reference
Put a cup, pitcher or planter on your desk. Choose something with a clear outline and few parts. Avoid transparent glass, braided handles and elaborate surface patterns for this study. You are learning to compare volume and proportion, so a plain object gives you a cleaner question.
Look at it from the side. Identify the largest volume, the opening and any attachment. For a pitcher, that may be a cylinder-like body, a rim and a handle. Write down what makes the object recognisable. The answer might be a short spout or the space between the handle and the body.
Block the main volumes
Begin with simple mesh primitives. Keep the parts separate while you decide their size and position. Name the objects as you go, so you can find the body and the handle without guessing in the Outliner.
Use the same viewing angle as your reference. Compare the body’s height with its width, then the handle’s height with the body. These relationships matter more than a measurement that looks precise on its own. A handle twice as large as it should be will change the reading of the whole object.
Save an early version before trying a major change. A simple naming pattern such as pitcher-study-a.blend makes experiments easier to compare. The file is a record of a decision, not a verdict on your ability.
Test the outline
Temporarily ignore surface colour. Use a simple solid display and inspect the object from the front, side and a three-quarter angle. Move far enough away that you can no longer admire small details.
- Does the body communicate the right proportions?
- Is the handle’s empty space still visible?
- Does the spout remain distinct from the rim?
- Does any part intersect another in a way you did not intend?
If the outline is confusing, change one large relationship. Enlarge the opening, lower the handle or simplify the spout. Do not respond by adding texture. A surface pattern cannot make an unclear outline easier to understand.
Spend detail carefully
Once the shape reads well, choose one improvement. A subtle bevel can soften a manufactured edge; a better rim can make an opening feel deliberate. Keep the rest plain. This restriction helps you see exactly what the change contributed.
For each new tool, consult the corresponding lesson rather than collecting shortcuts from unrelated tutorials. The course’s modelling chapter introduces mesh selection, extrusion, loop cuts and bevels, so you can connect a tool to a specific problem.
Finish the comparison
Save a second version and capture the same view of both. Write two sentences: what became clearer, and what you would change next. If you cannot see a difference, make a larger adjustment. If everything changed at once, repeat with a smaller set of decisions.
If the pitcher is recognisable from the chosen view, save it and take the same object into our one-light study. If the outline is still unclear, name the part that needs to change. That gives your next modelling lesson a concrete job.
Sources
Official course and modelling lesson list; Blender Manual: mesh primitives. The pitcher exercise is independent editorial practice.